

You spent a weekend laying pavers, but now they are shifting and uneven. That sinking feeling in your stomach is real. Most DIY paver projects fail because of what happens before the first paver is set.
The base is everything. Without a solid foundation of compacted gravel and sand, your pavers will move with the frost and rain. This article shows you how to build a base that lasts, step by step.
Choosing the Right Paver Material for Your Project
Concrete pavers are the most popular choice for US homeowners because they are affordable and strong. A standard concrete paver can handle 5000 to 8000 psi, which is plenty for a driveway. Brick pavers cost more but can last over 50 years with their natural clay color.
Natural stone like bluestone or travertine gives a high-end look but costs three to four times more than concrete. For a 400-square-foot patio, expect to pay between $800 and $1,500 for concrete pavers, while natural stone can run $3,000 or more. Permeable pavers are a smart eco-friendly option that reduces stormwater runoff, but they need special base layers to work.
Pavers in 2026: Your Guide to Outdoor Upgrades
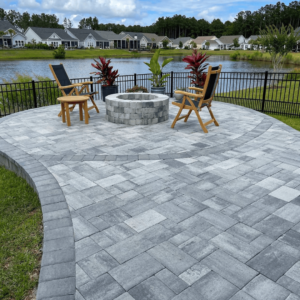
Pavers are a fantastic way to enhance your home’s exterior. They offer beauty and lasting value. In 2026, homeowners are investing more in outdoor living spaces. Pavers provide a durable and attractive solution for patios, walkways, and driveways. Understanding your options is key to a successful project.
| Material | Pros | Cons | Typical Cost (per sq ft) |
| Concrete | Versatile, affordable, strong | Can stain, may fade | $3 – $8 |
| Brick | Classic look, durable | Higher cost, can chip | $5 – $15 |
| Natural Stone | Unique beauty, very durable | Most expensive, can be slippery | $10 – $30+ |
Paver Installation: Step-by-Step Process
Proper paver installation is crucial for longevity. It starts with excavating the area. Then, a compacted base layer of gravel is added. This base prevents shifting and water issues. Next, a layer of bedding sand is spread evenly.
The pavers are then carefully laid. They are set into the sand. Joints are filled with polymeric sand. This sand hardens and prevents weeds. Finally, the pavers are compacted. This ensures a level and stable surface. Professional paver installation ensures these steps are done right.
Read also: Stop Choking on Smoke: The Best Fire Pits for 2026
‘The foundation is everything for pavers. A weak base means early problems.’
Paver Patio Cost: Budgeting Tips
The paver patio cost varies greatly. Material choice is the biggest factor. Concrete pavers are the most budget-friendly. Natural stone will significantly increase your expenses. Labor costs also play a major role.
Get multiple quotes from paver contractors near me. Ask for a detailed breakdown. This includes materials, labor, and site preparation. Consider DIY for smaller areas to save money. However, complex designs often require professional help.
A simple concrete paver patio might cost between $3,000 and $7,000. A larger, more intricate natural stone patio could reach $15,000 or more. Always factor in a contingency fund for unexpected issues.
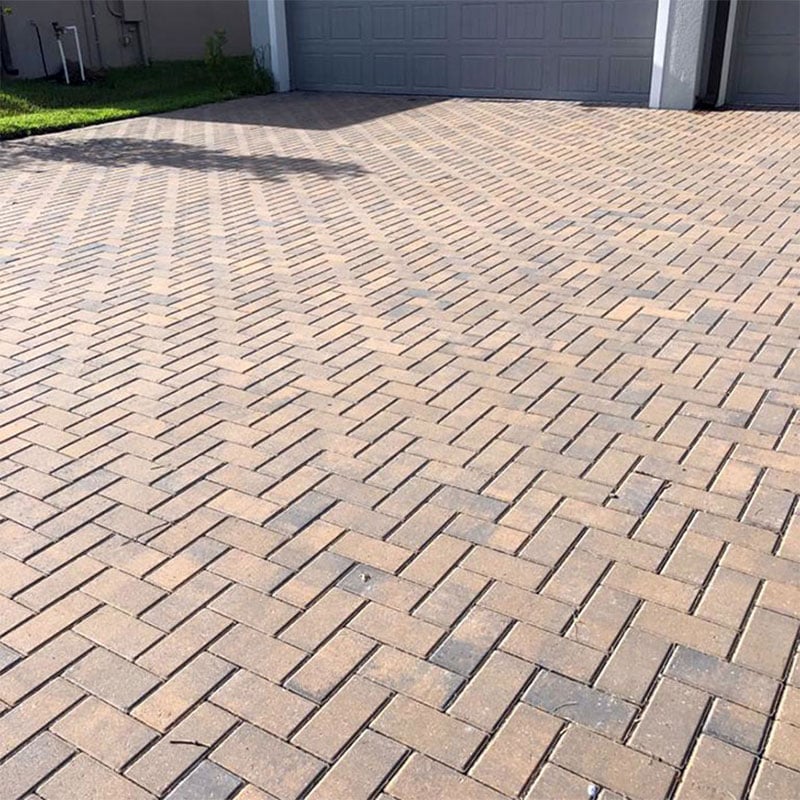
Paver Driveway: Durability and Design
A paver driveway offers superior durability. Pavers can handle heavy vehicle loads. They distribute weight evenly. This prevents cracking common in poured concrete. Interlocking pavers are especially strong.
You can choose from many paver colors and shapes. This allows for custom designs. Consider patterns that complement your home’s architecture. A well-designed paver driveway adds significant curb appeal. It is a worthwhile investment for your property’s value.
The lifespan of a paver driveway can exceed 30 years with proper care. This is much longer than traditional asphalt or concrete. The initial paver driveway cost is higher, but long-term savings are substantial.
Paver Sealer: Protection and Maintenance
Applying a paver sealer is vital for protection. It shields pavers from stains, UV rays, and water damage. Sealers also enhance color and prevent fading. This is especially important for concrete and brick pavers.
Choose a sealer based on your paver material and desired finish. Water-based sealers are eco-friendly and easy to apply. Solvent-based sealers offer stronger protection. Reapply sealer every 2-4 years, depending on traffic and climate.
Paver maintenance is simplified with a good sealer. It makes cleaning easier and protects your investment. This step is often overlooked but makes a big difference.
Paver Cleaning: Effective Methods
Regular paver cleaning keeps your surfaces looking new. Start with sweeping away loose debris. For tougher stains, use a stiff brush and a mild detergent. Always rinse thoroughly with water.
For stubborn stains like oil or rust, specialized cleaners are available. Always test cleaners in an inconspicuous area first. Avoid harsh chemicals that can damage the pavers or sealer.
Pressure washing can be effective but use a low setting. High pressure can erode joint sand and damage paver edges. Proper cleaning extends the life and beauty of your pavers.
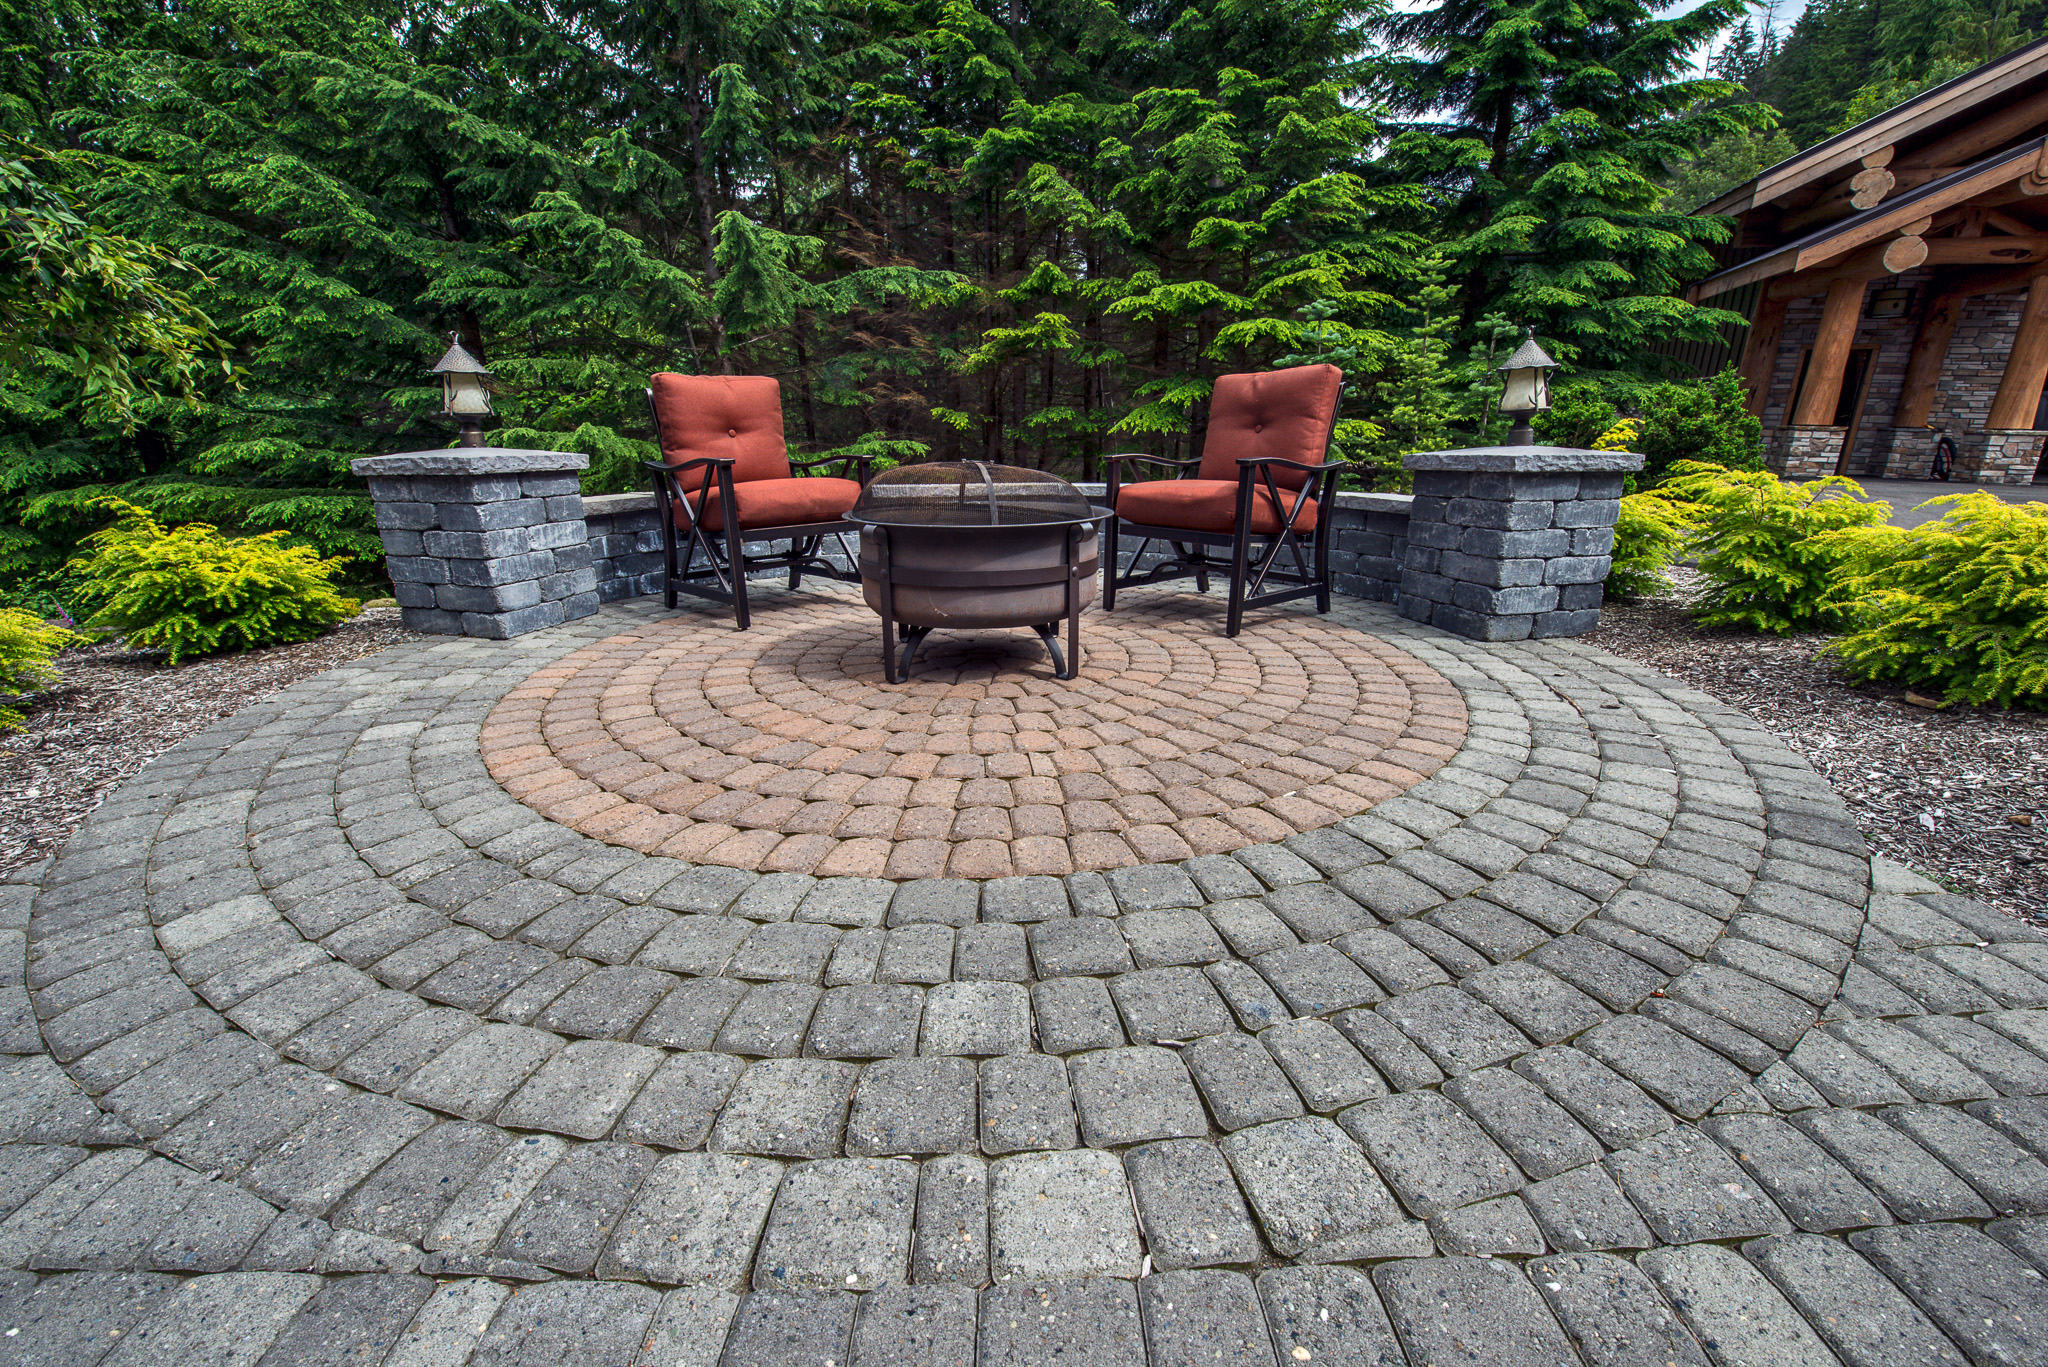
Paver Patterns: Popular Layouts
Paver patterns add visual interest to any outdoor space. The running bond, or brick pattern, is classic and simple. The herringbone pattern offers strength and a dynamic look.
Basketweave patterns create a charming, traditional feel. Circular or fan patterns can be used for accents. Consider paver shapes and sizes when choosing a pattern. Larger pavers suit modern designs, while smaller ones work for intricate layouts.
The right pattern can define different zones in your patio or walkway. It guides the eye and enhances the overall design. Consult with a professional for complex pattern ideas.
Permeable Pavers: Eco-Friendly Options
Permeable pavers are an excellent choice for sustainable landscaping. They allow rainwater to soak into the ground. This reduces stormwater runoff and helps recharge groundwater. They are ideal for areas with drainage issues.
Installation requires a specific base preparation. This includes a larger aggregate base. The gaps between pavers are filled with small stones, not sand. This allows water to pass through.
These eco-friendly options are becoming increasingly popular. They help manage water on your property. Check local building codes for requirements on permeable surfaces.
Interlocking Pavers: Benefits and Installation
Interlocking pavers are designed to connect securely. This creates a strong, stable surface. Their unique shapes lock together, resisting movement. This makes them ideal for driveways and high-traffic areas.
The installation process is similar to other pavers. However, the interlocking design adds an extra layer of stability. They are manufactured with precision for a tight fit.
The benefits include exceptional durability and resistance to shifting. They are a great choice for areas that experience significant freeze-thaw cycles. You can find them in various materials and styles.
The Verdict on Pavers
Pavers offer a versatile and durable hardscaping solution. They significantly enhance property value and usability. From budget-friendly concrete to luxurious natural stone, there is an option for every need.
Investing in quality paver materials and proper installation pays off. Regular maintenance, including sealing and cleaning, ensures lasting beauty. Consider permeable options for environmental benefits. For beautiful and functional outdoor spaces, pavers are a top choice in 2026.
Explore your options and find the perfect pavers for your home. You can find great resources for inspiration and product comparisons online. For instance, checking out ICPI’s website can offer valuable technical details. Also, consider visiting The Paver Association for industry insights.
Your 3-Step Paver Action Plan
Step 1: Choose Your Paver Type
Select concrete for budget and versatility, brick for timeless charm, or natural stone for premium longevity. Match the material to your climate and traffic load.
Step 2: Prep the Base Like a Pro
Excavate at least 8 inches for driveways, compact the sub-base, and add 4 inches of gravel followed by 1 inch of bedding sand. Proper drainage starts here.
Step 3: Lock It In
Use polymeric sand to fill joints, then mist with water to activate the binder. This prevents weeds and keeps pavers from shifting over time.
Frequently Asked Questions
Can I install pavers over an existing concrete slab?
Yes, but only if the slab is in good condition and you add a 2-inch sand layer before laying pavers. Ensure proper slope for water runoff to avoid pooling.
How often should I seal my pavers?
Seal concrete and brick pavers every 2-3 years to protect against stains and UV fading. Natural stone may require sealing every 1-2 years depending on porosity.
What is the difference between permeable and standard pavers?
Permeable pavers have larger gaps filled with aggregate to allow water infiltration, reducing runoff. Standard pavers are solid and require traditional drainage systems.
Choosing the right paver is a decision that blends durability, style, and environmental responsibility. With proper installation and care, your investment will enhance your outdoor space for decades.
Ready to transform your yard? Start by measuring your area and ordering samples to see the color and texture in natural light. Your perfect patio or walkway is just a few steps away.
Imagine stepping onto a warm, textured surface that feels both solid and inviting, a seamless extension of your home. That everyday luxury is what great hardscaping delivers.